Guide
Virtual staging before and after
A practical way to evaluate a staged room: compare the original, inspect continuity, and keep publishing decisions with a human reviewer.
What a before-and-after comparison should show
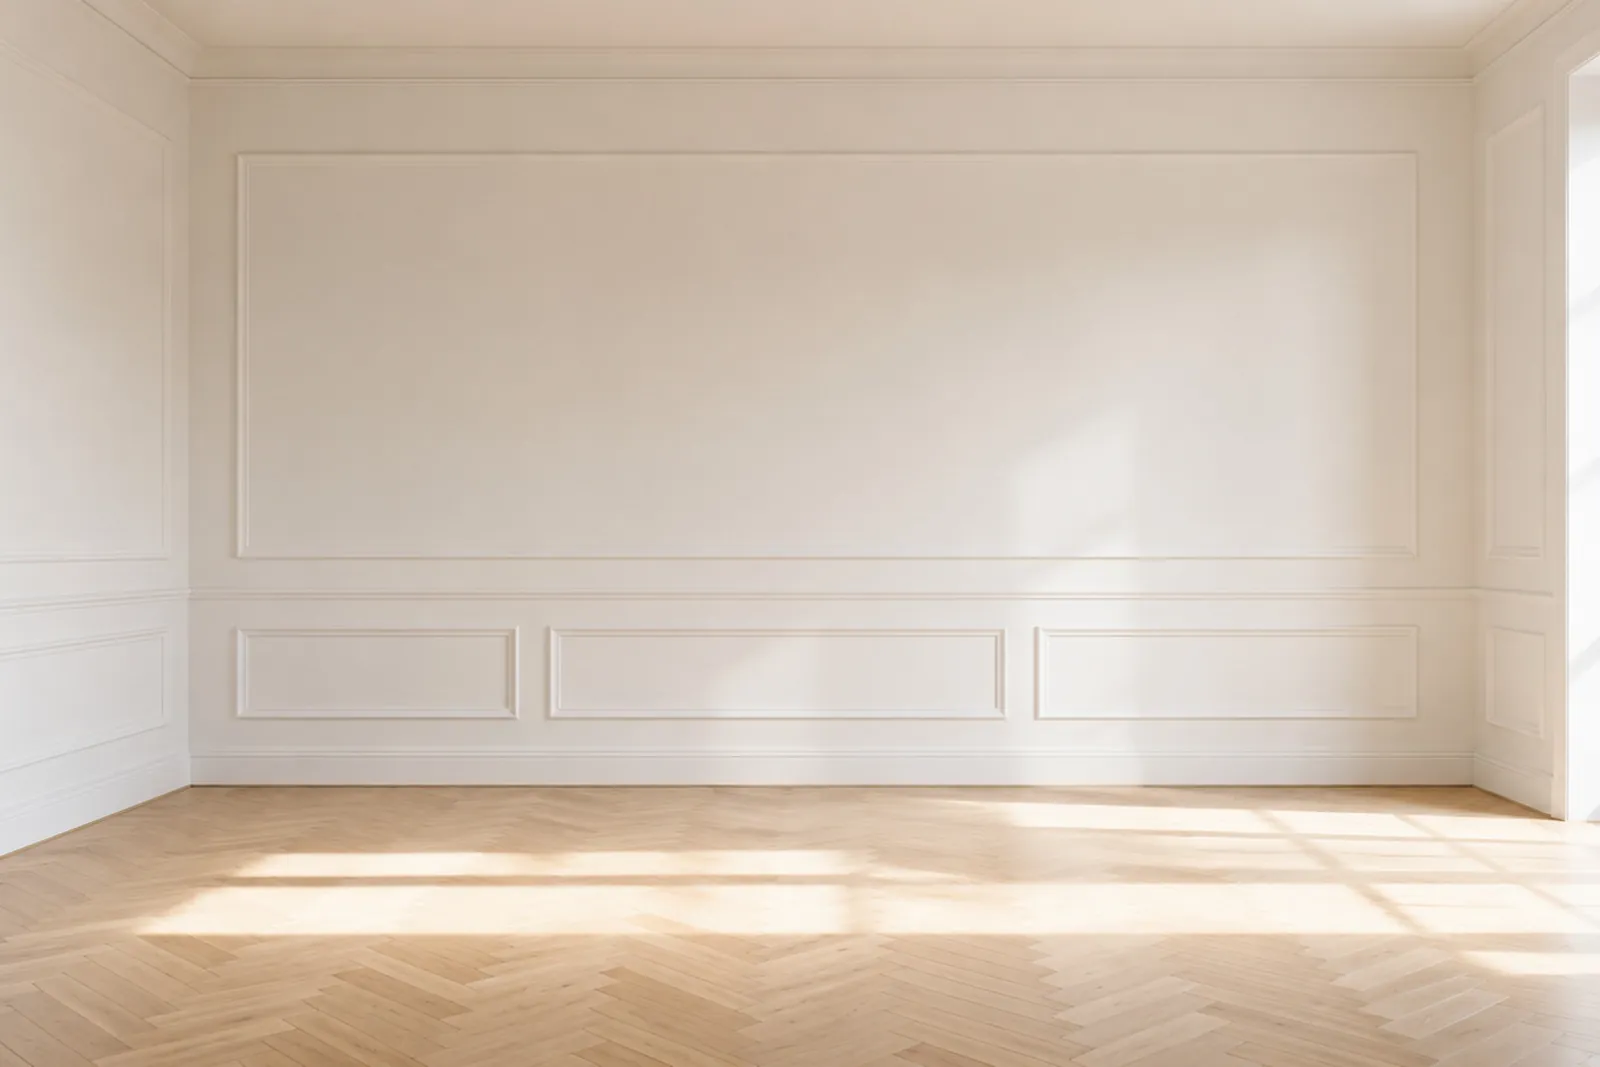
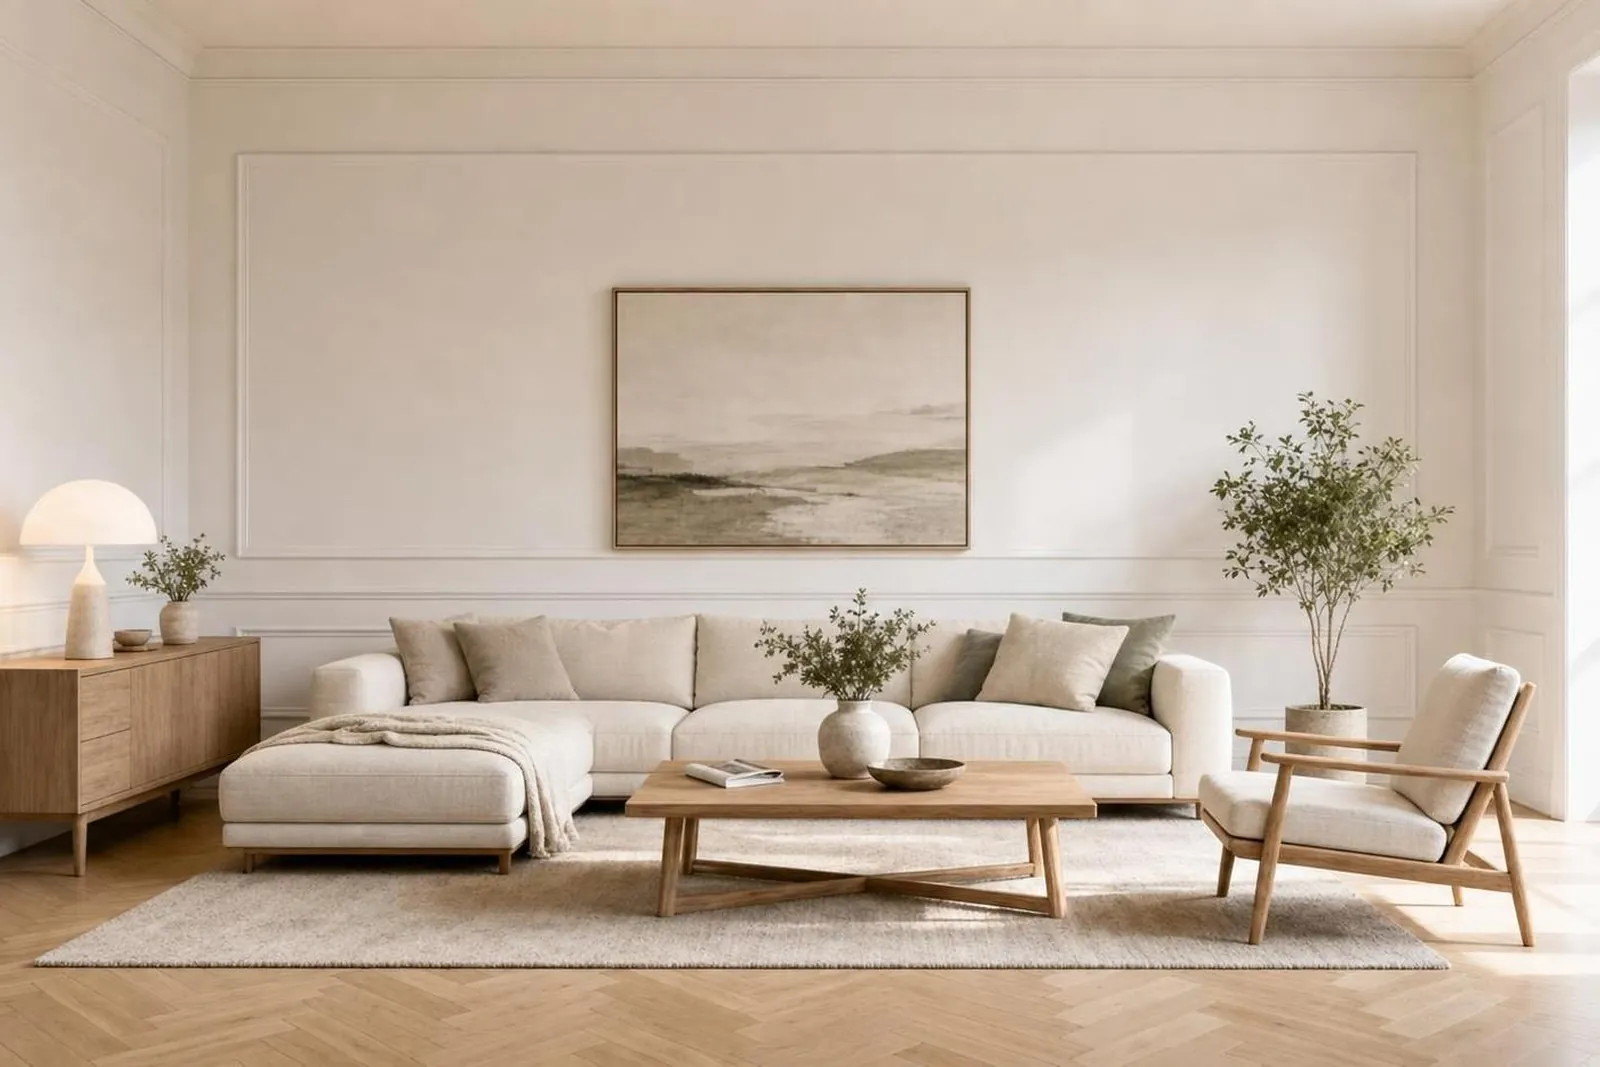
A useful comparison makes the source photo and the staged result easy to inspect at the same scale. The furnishing direction should be visible, but the original must remain the reference for the room’s actual structure and condition.
The examples below are Stageivo demo assets. They illustrate furniture and décor directions; they are not evidence of a faster sale, higher price, or any other property outcome.
Look for continuity before visual polish
When reviewing an output, check the edges and fixed elements first. A visually attractive result is still unsuitable if it changes a window, view, floor, fixture, opening, or other material feature.
- Compare the room outline and camera view.
- Check the placement and scale of furniture against the visible floor area.
- Look for generated objects that obscure defects or make a permanent feature appear different.
- Keep the original and any required alteration disclosure available to the viewer.
A Stageivo example to inspect